How to Configure PeopleTools with Oracle SES (Part-2)
Once you’ve installed Oracle SES, the next step is to configure PeopleSoft PeopleTools with Oracle SES. Prior to implementing the PeopleSoft Search Framework, the following items need to be installed, configured, and functional.
- Oracle SES
- PeopleSoft Database
- Application Server
- PeopleSoft Integration Broker
- Process Scheduler Server
Apart from the above requirements, you will also need a PeopleSoft application to allow the end users to perform search.
This is part 2 of the series on PeopleSoft Search Framework and for your reference, the other parts of this topic are mentioned below:
Part 1- PeopleSoft Search Framework: How to Install Oracle SES
Part 3- Configure PeopleSoft to use SES
Part 4-
Part 2: How to Configure PeopleTools with Oracle SES
In the Part 2, we will cover how to configure Oracle SES so that the PeopleSoft application can make use of it. You will need a PeopleSoft 9.2 application to work with SES as no other search engine will work for a PeopleSoft 9.2 application. There is no option to disable search – you can very well have an application without SES installed and configured, but you can imagine the usefulness of an application, which has no search capability.
From Part 1(Installing Oracle SES), you will need the following information:
- Oracle SES Server Host Name: Syntax is http://<host>:<port>/search/admin/index.jsp ; for example http://ses.peoplesofttutorial.com
- Oracle SES Server Listening Port: For example 7777
- Oracle SES Administrator: For example searchsys
- Oracle SES Administrator Password: For example abcd1234
- PeopleSoft 9.2 Application PIA URL: For example http://hcm92dev.peoplesofttutorial.com:8008/ps/signon.html
Configuring SES for the Search Framework
Create a Federated Trusted Entity
1. Access the SES Admin console using the following syntax: http://ses.peoplesofttutorial.com:7777/search/admin/index.jsp
2. Go to Global Settings -> Federation Trusted Entities
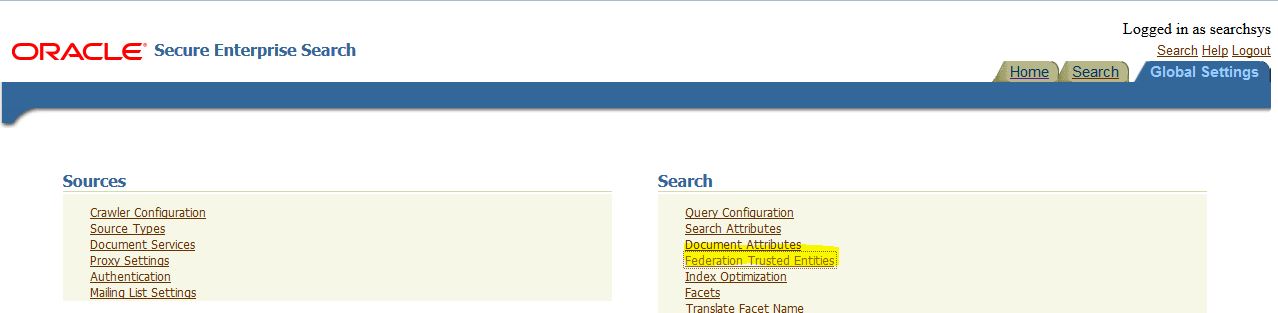
3. Enter the entity you want to create. This Entity Name and password are configured for inbound connections to SES and will later be provided in the PeopleSoft side. The Identity Plug-in and Authentication Attribute options are to be left blank for this configuration as shown below:

4. Once you press the add button, you will see an entry created in the “Trusted Entities” table below:
![]()
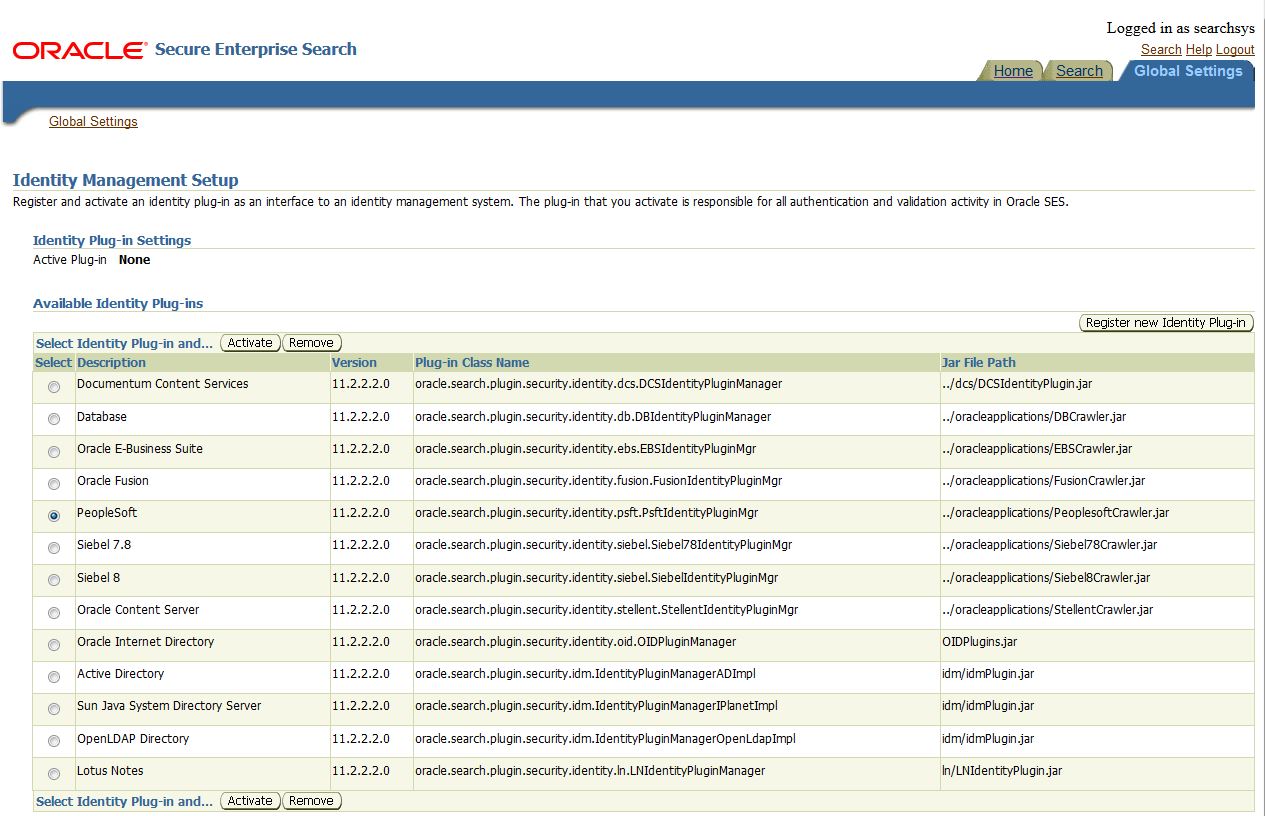
5. Now you will need to activate the Identity Plug-in. You use the identity plugins to access users in PeopleSoft using any approved Identity Management System. Go to Global Settings tab and find the Identity Management Setup link in the System section. Select the radio button for PeopleSoft and click the Activate button.
6. Enter the HTTP endpoint of authentication: HTTP endpoint of authentication will be the URL to the PeopleSoft Listening Connector on your PeopleSoft system. The User ID and Password here is a PeopleSoft user that has the Search Framework Administrator role or permissions lists assigned:
Once you enter the HTTP endpoint of authentication details, it will show up at the top of Available Identity Plugins.
The roles which this PeopleSoft user needs are:

7. Review the Timeout Settings and update them as per the following:
- Go to the main Global Settings tab and in the Search section click Query Configuration. The PeopleSoft documentation recommends changing the Maximum number of results to to 999999 (the default was 200). You can keep this value lower, say 9999 to begin with and once you have a live system, you can update it.
- Go to Query-time Authorization Configuration and set the Timeout Threshold to 120000 milliseconds (the default was 30000).
- Scroll down to Secure Search Configuration and change the Security Filter Lifespan to 60 (default was 1440), Authentication Timeout to 1200000 (default was 30000), Authorization Timeout to 180000 (default was 30000).
Apply the changes when you are done.
In case you have a multilingual (Unicode) install base, you would need to do an additional step at the OS level. Add AUTO_CHARSET_DETECTION to $ORACLE_HOME/search/data/config/crawler.dat to enable Character set auto detection. Below is what I added to the end of the crawler.dat file
# enable automatic character set detection
AUTO_CHARSET_DETECTION
This concludes our setup on the SES side and the next steps will be on the PeopleSoft application where you will configure SES. Go to Part 3: Configure PeopleSoft to use SES
[…] Part 2- How to Configure PeopleSoft 9.2 with Oracle SES […]
[…] Part 2- How to Configure PeopleSoft 9.2 with Oracle SES […]