How to Add Custom Indexes in PeopleSoft
PeopleSoft comes with highly normalized tables and indexes to support them. When you start charting the path of doing customization, you are likely to come across a situation when a SQL does not run fine. One of the likely reason for a poor performing SQL is that there isn’t a proper index to support the SQL. Once you identify the index, which needs to be created to support the poorly performing SQL, you can go ahead and create it in the database.
However, you run the risk of loosing the index in future upgrades or bundles. Hence, if you would like to ensure that the index does not get deleted ever, you need to create the custom index in the Application Designer as well. This will ensure that the PeopleTools Application Designer is in sync with the database.
How to Add Custom Indexes in PeopleSoft:
The usual security does not allow developers to create the custom indexes. PeopleSoft Adminstrator will be needed to add the index through People Tools Application Designer.
1. Add or insert the record to the respective project if it is not already included in the project.
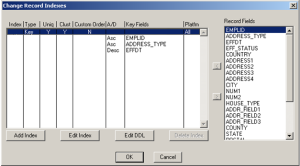
2. Open the record under the upgrade tab in Application Designer. Then select >Tools>Data Administration>Indexes.
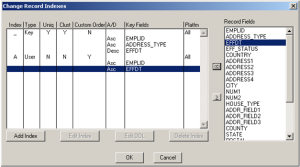
3. Select “Add” and enter the definition of the requested index. Hit OK and save the project.
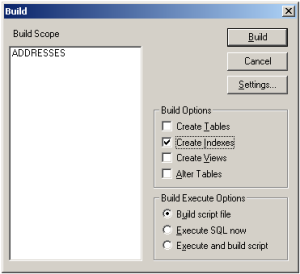
4. Build the index and insert it into the project the same way the record was inserted.
5. Migrate the project or just the index definition to keep it the same across environments. The record is stored for build reasons. Make sure that the only upgrade boxes that are checked are on the index’s. Uncheck all of the upgrade tabs in the record definitions and migrate the pointers for the record definitions in the project.