
Student Records – Overview of Quick Admit Process
Introduction to Quick Admit:
The Student Admission process is generally carried out in the Student Admission module in PeopleSoft Campus Solutions. The Matriculation process replicates the Student Admissions data to the Student Records module. These ‘Matriculated’ Students are eligible for the Term Activation process, which forms the basis of the upcoming transactions in the Student’s Academic Career.
Quick Admit process enables the addition of Student directly to the Program/Plan stack,which implies that, there will be no existing record(data/row) for the Student in the Admissions module.
Quick Admit enables us to create the Student’s Admission process in two steps:
- Adding the Student’s Personal(Bio-Demo) data into the system.
- Activate the Student’s Program/Plan stack and the Admit Term.
The Term activation process makes the Student to be eligible for Enrollment. Students created through the Quick Admit component can be viewed in the Program/Plan Stack component in the navigation:
Records and Enrollment –> Career and Program Information –> Student Program/Plan.
Admitting a Student through Quick Admit:
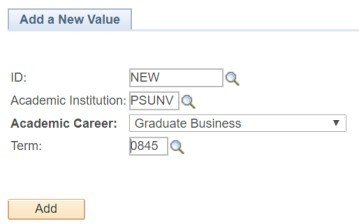 Pic: Add a New Student via Quick Admit
This page is used to Add a new Student in Quick Admit Component. By default, the value for the ID appears as ‘New’. This enables the user to add a new Student, who is not existing in the system. Once the data in Quick Admit component is saved, the system generates the Student ID automatically. As a pre-requisite, the Search/Match functionality need to be configured to avoid the creation of duplicate records.
Adding Biographical(Bio-Demo) details in Quick Admit:
 Pic: Student Bio-Demo details page
The Biographical (commonly referred as Bio-Demo) details page enables the User to add the Personal details for a Student, collectively. This data is stored in the components under the Personal Identification folder in Campus Community.
Adding Regional details in Quick Admit:
The Regional details page in Quick Admit enables the User to add the ethnicity related information. In the recent 9.2 application version, these details are grouped under 3 Categories specific to the regions such as New Zealand, Netherlands and USA. The data captured on these pages differs with the regions and used across the other process specific to the regions.
Regional details for New Zealand:
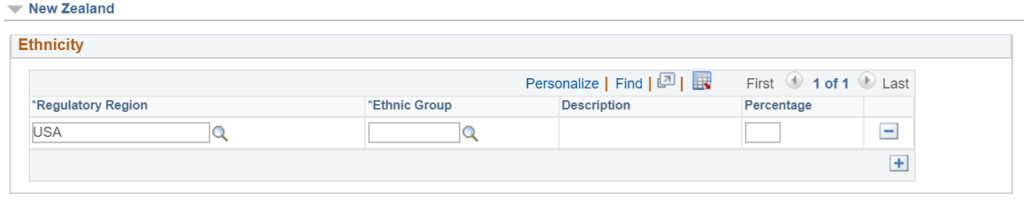 Pic: Quick Admit – Regional Details – New Zealand
Regional details for Netherlands:
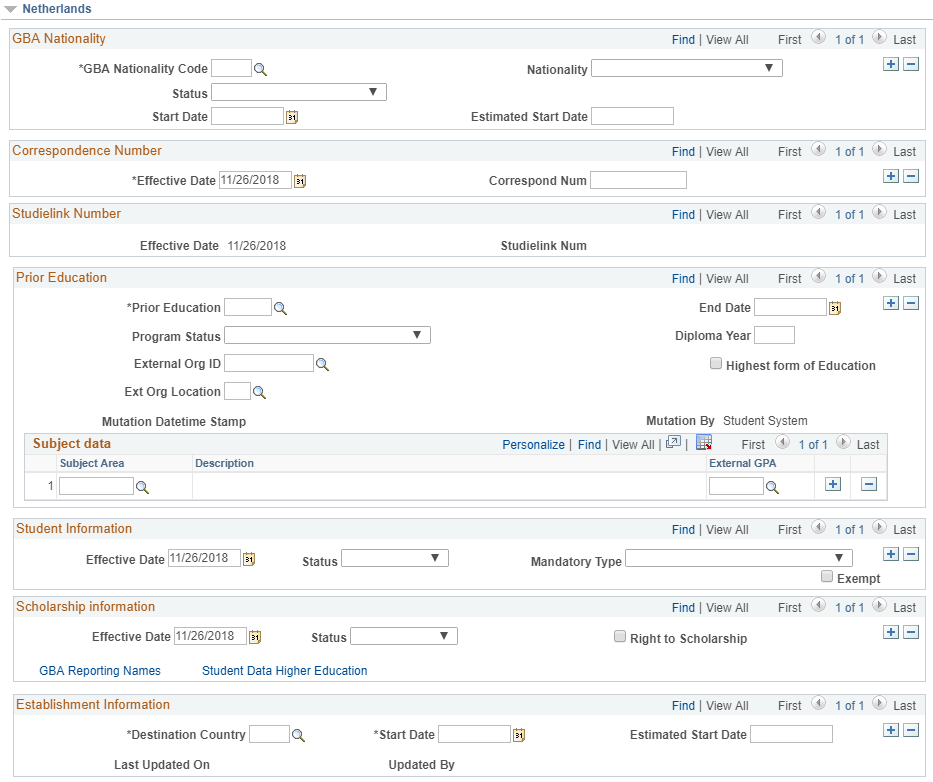 Pic: Quick Admit – Regional Details – Netherlands
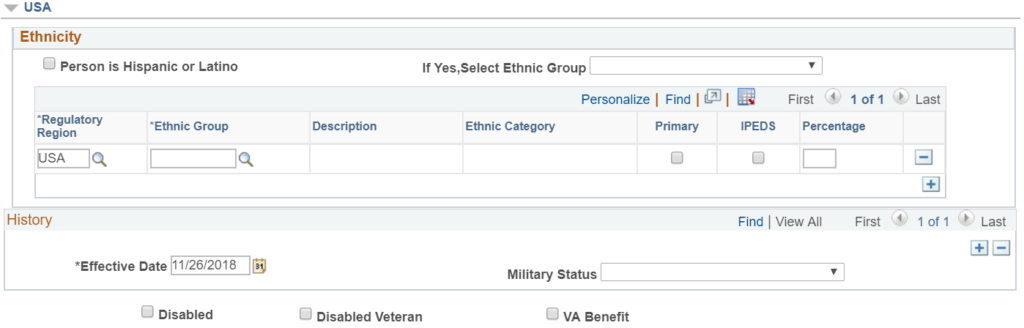
Regional details for USA:

Adding Program/Plan details in Quick Admit:
Pic: Quick Admit – Program Plan details
The Program/Plan and Admit Term information, entered on this page is saved in the Program Plan stack. The Row level security required to fill the Program, Plan and Term details are as below.
- Academic Program Primary – User should have the Academic Program row level security. The Academic Program code values appears in the prompt, for the privileged Users only. The Row level security can be assigned in the navigation: Setup SACR –> Security –> Secure Student Administration –> User ID –> Academic Program Security.
- Academic Plan – Similar to the Program, the Academic Plan values will be appearing in the prompt. Only for the Users with the Row level security access for Academic Plan. The Row level security can be assigned in the navigation: Setup SACR –> Security –> Secure Student Administration –> User ID –> Academic Plan Security.
- Admit Term – Unlike the Program and Plan, Row level security is not required for selecting the Admit Term value from the lookup. But the Academic Program should be ‘Active’ and the Last Admit Term for the same should be greater than the Term value selected in the prompt.
Adding Residency details in Quick Admit:
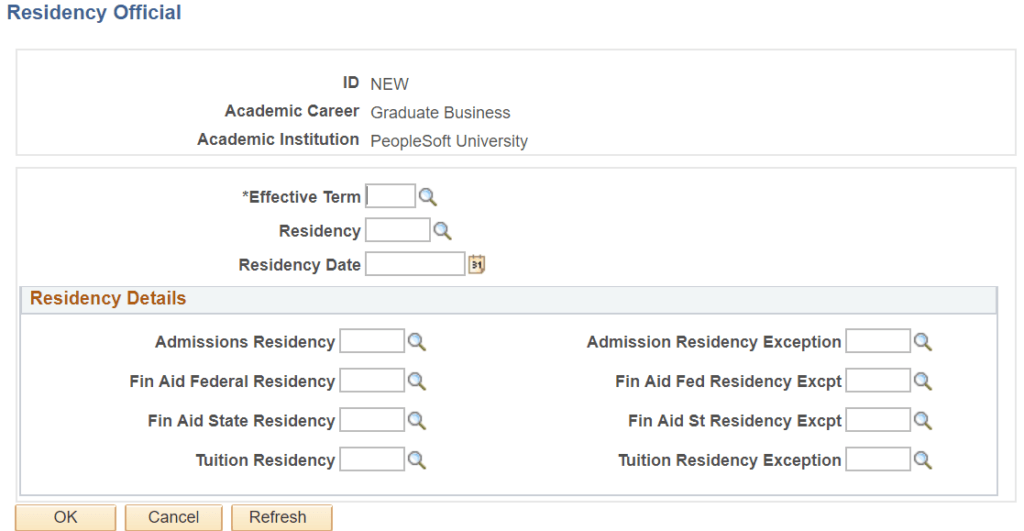
The Residency information page, enables the system to categorize the Student in the Academic transactions specific to the residency status. This data is mandatory for the completion of Quick Admit. Failing to fill same, triggers an error message saying, ‘You must select a residency code’. Also, the Residency information impacts the Student Enrollment as well. If the Students added through the Admissions module are Enrolled for a course. The absence of Residency information impacts the Student Enrollment with a Warning message saying, ‘This Student is not eligible to enroll for this term because residency has not been coded’.
To: Jem
Thank you so much for the PeopleSoft Campus Solutions material. I really appreciate all that you have to offer. If you have links or more material that would be great. I have been trying for a long time to locate PeopleSoft Campus Solution training material…
Thank you sincerely,
Earl